

Installing a Head Unit in Your Jeep Cherokee (2014-2020)
Upgrading your Jeep Cherokee with a new head unit can significantly enhance your driving experience. In this guide, we will walk you through the installation process of the G-Series Head Unit designed for Jeep Cherokees from 2014 to 2020.

Tools Required
No specific tools are mentioned for this installation, but standard automotive tools may be helpful.
Pre-Installation Notes
- Ensure the vehicle is turned off and the keys are removed from the ignition.
- Disconnect the vehicle's negative battery terminal to prevent any electrical issues.
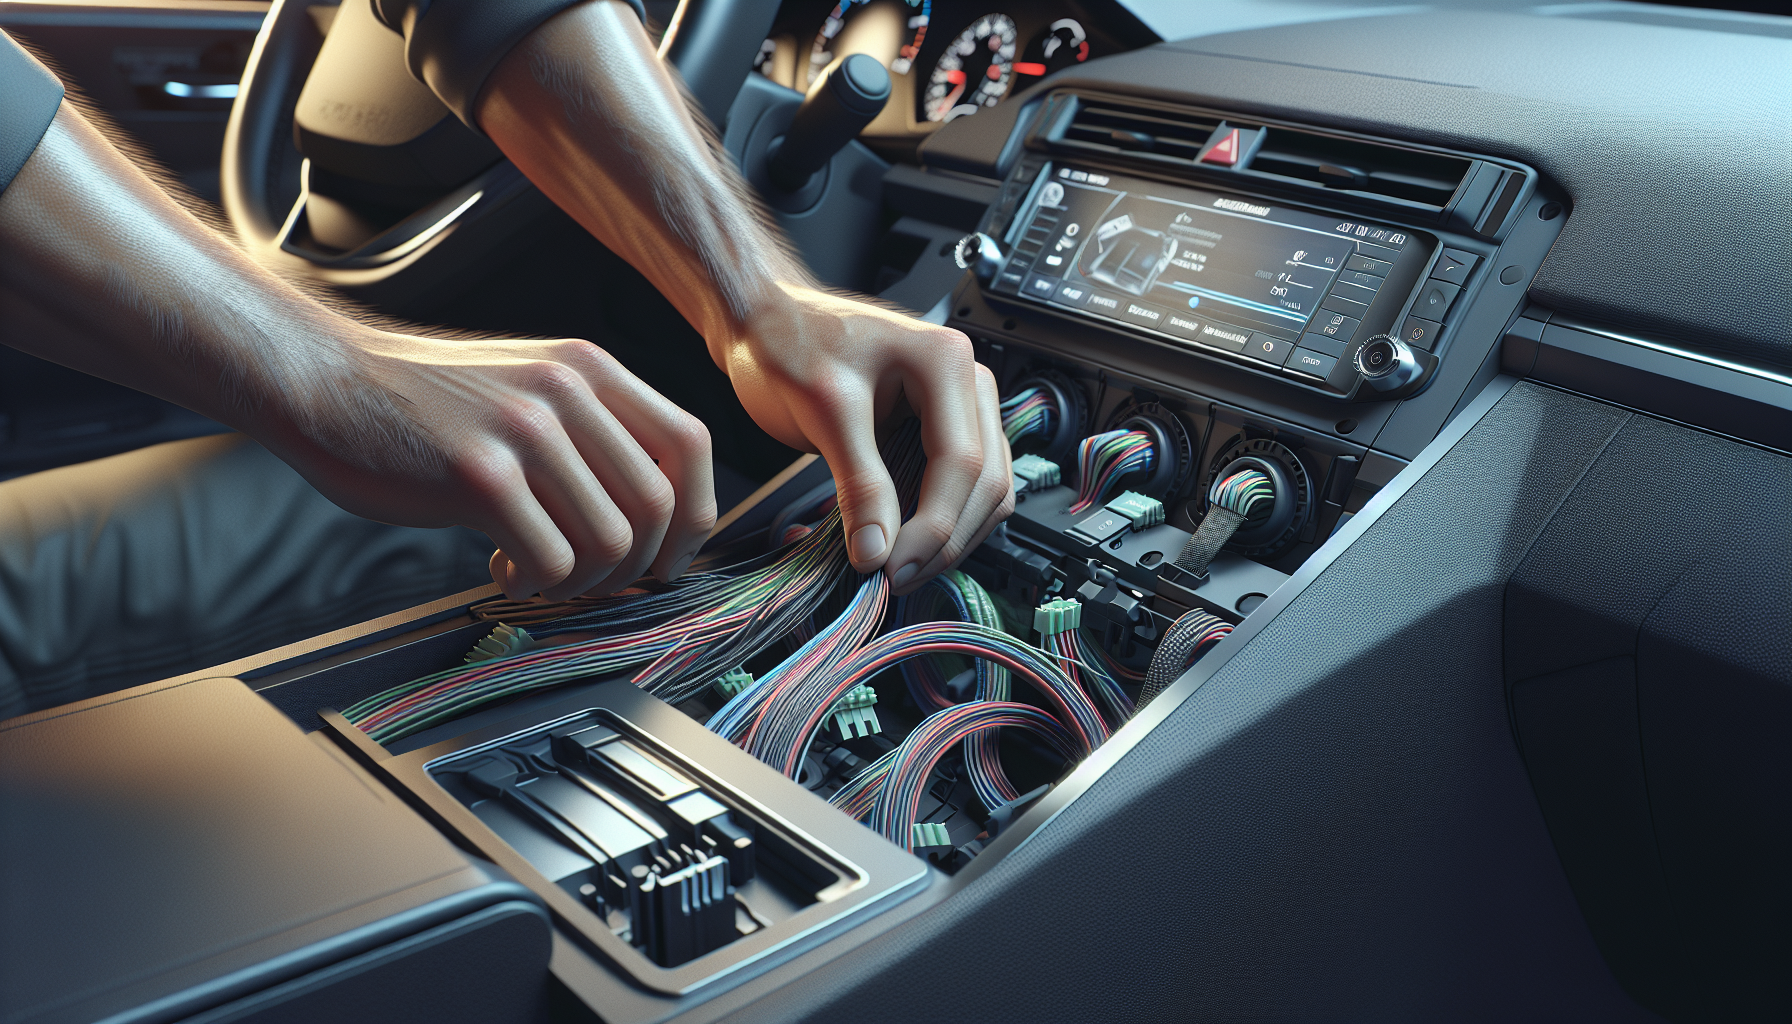
Removal Steps
While specific removal steps are not provided, you will need to carefully remove the factory trim and head unit. Refer to your vehicle's specific manual for detailed instructions.
Installation Steps
- Connect Factory USB Adapter: Use the adapter to connect the factory USB plug to the new head unit.
- Factory Reverse Camera Input: Connect the factory reverse camera plug to the camera signal input cable.
- AUX Connection: Connect the AUX plug to the AUX cable on the new head unit.
- Microphone: Connect the external microphone cable into the appropriate socket.
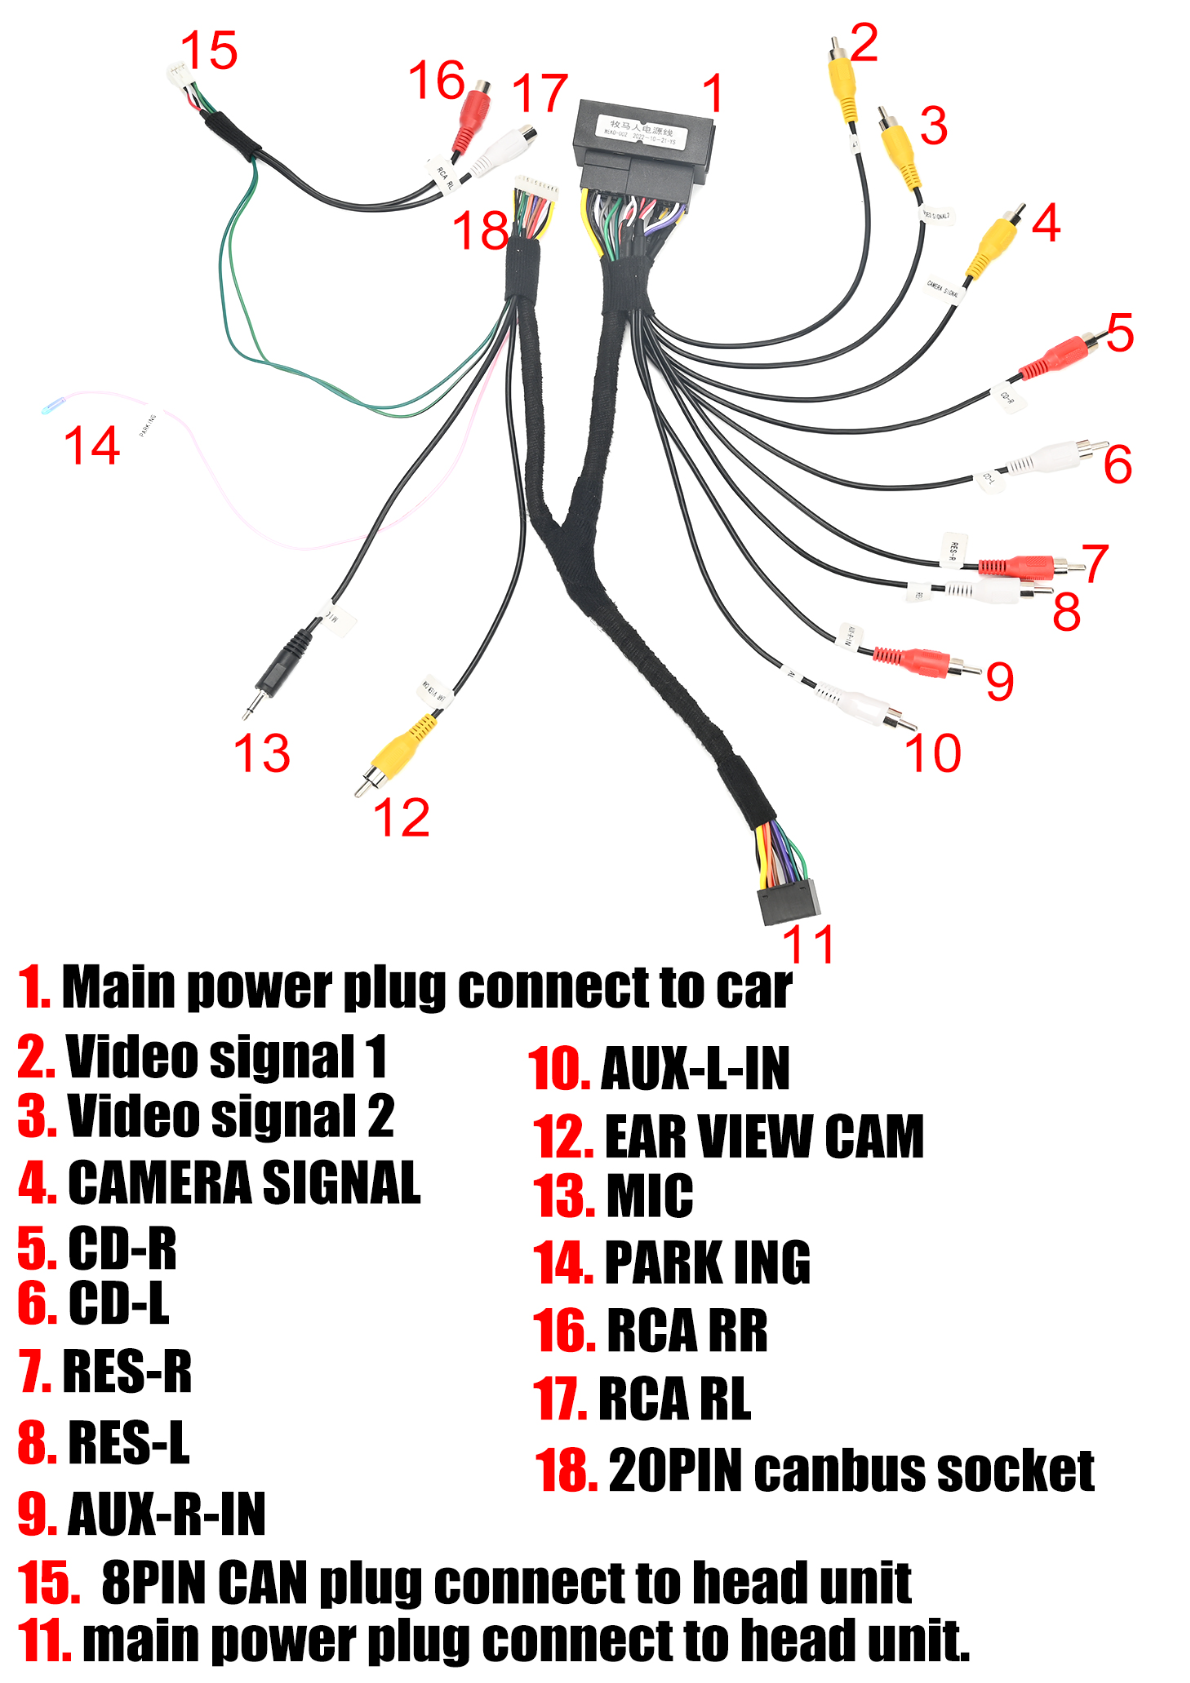
- Harness and Sockets: Use the main power harness to connect to the vehicle's power socket and attach all necessary plugs to the corresponding sockets on the head unit.
- CANbus Connection: Connect the 20PIN CANbus socket to the unit for vehicle-specific integration.
Wiring/Connections
Ensure all wiring connections are made correctly:
- 4G, GPS, and Radio Antennas: Connect the corresponding antenna cables to the 4G, GPS, and Radio ANT sockets on the unit.
- USB Connections: The 6PIN USB cable should be plugged into its designated socket, and the 4PIN USB cable connects to its respective socket.
- Signal and Power Connections: Ensure video signal cables and auxiliary lines are attached correctly, as labeled:
- Video Signal 1 & 2
- Camera Signal
- AUX-L-IN, AUX-R-IN
- Rearview Camera
- Other Connections: Connect the RCA and Canbus cables as required by specific vehicle specifications and head unit functionality.
Wiring Diagrams
Refer to the wiring diagrams for proper connections:
Post-Installation
- Testing: Reconnect the vehicle’s negative battery terminal and test the head unit functions including sound, display, GPS, and camera inputs.
- Reassembly: Carefully replace any trim or panels removed during the installation.
Tips & Warnings
- Ensure all connectors are firmly attached to prevent disconnection issues.
- Double-check the cable connections against the diagrams for proper installation.
- Handle all components with care to avoid damage.
Conclusion
Upgrading your Jeep Cherokee's head unit can greatly enhance your driving experience. Follow this guide to ensure a smooth installation process. For more information and to browse our selection of head units, visit our product page.
If you have any questions or need further assistance, feel free to contact us.

Share:
How to Install a Head Unit in Your Infiniti Q50 Q60 (2014-2023): Complete Guide with Wiring Diagrams
How to Install a Head Unit in Your Jeep Grand Cherokee (2010-2013)