

Introduction
Upgrading your Jeep Grand Cherokee's head unit can enhance your driving experience, providing modern features like wireless Apple CarPlay and Android Auto. In this guide, we will walk you through the installation process for the G-Series head unit specifically designed for the 2010-2013 Jeep Grand Cherokee.

Tools Required
- Basic hand tools (screwdrivers, etc.)
Pre-Installation Notes
Before starting the installation, ensure the vehicle is turned off and the keys are removed from the ignition. Disconnect the negative terminal of the battery to prevent any electrical issues during installation.
Removal Steps
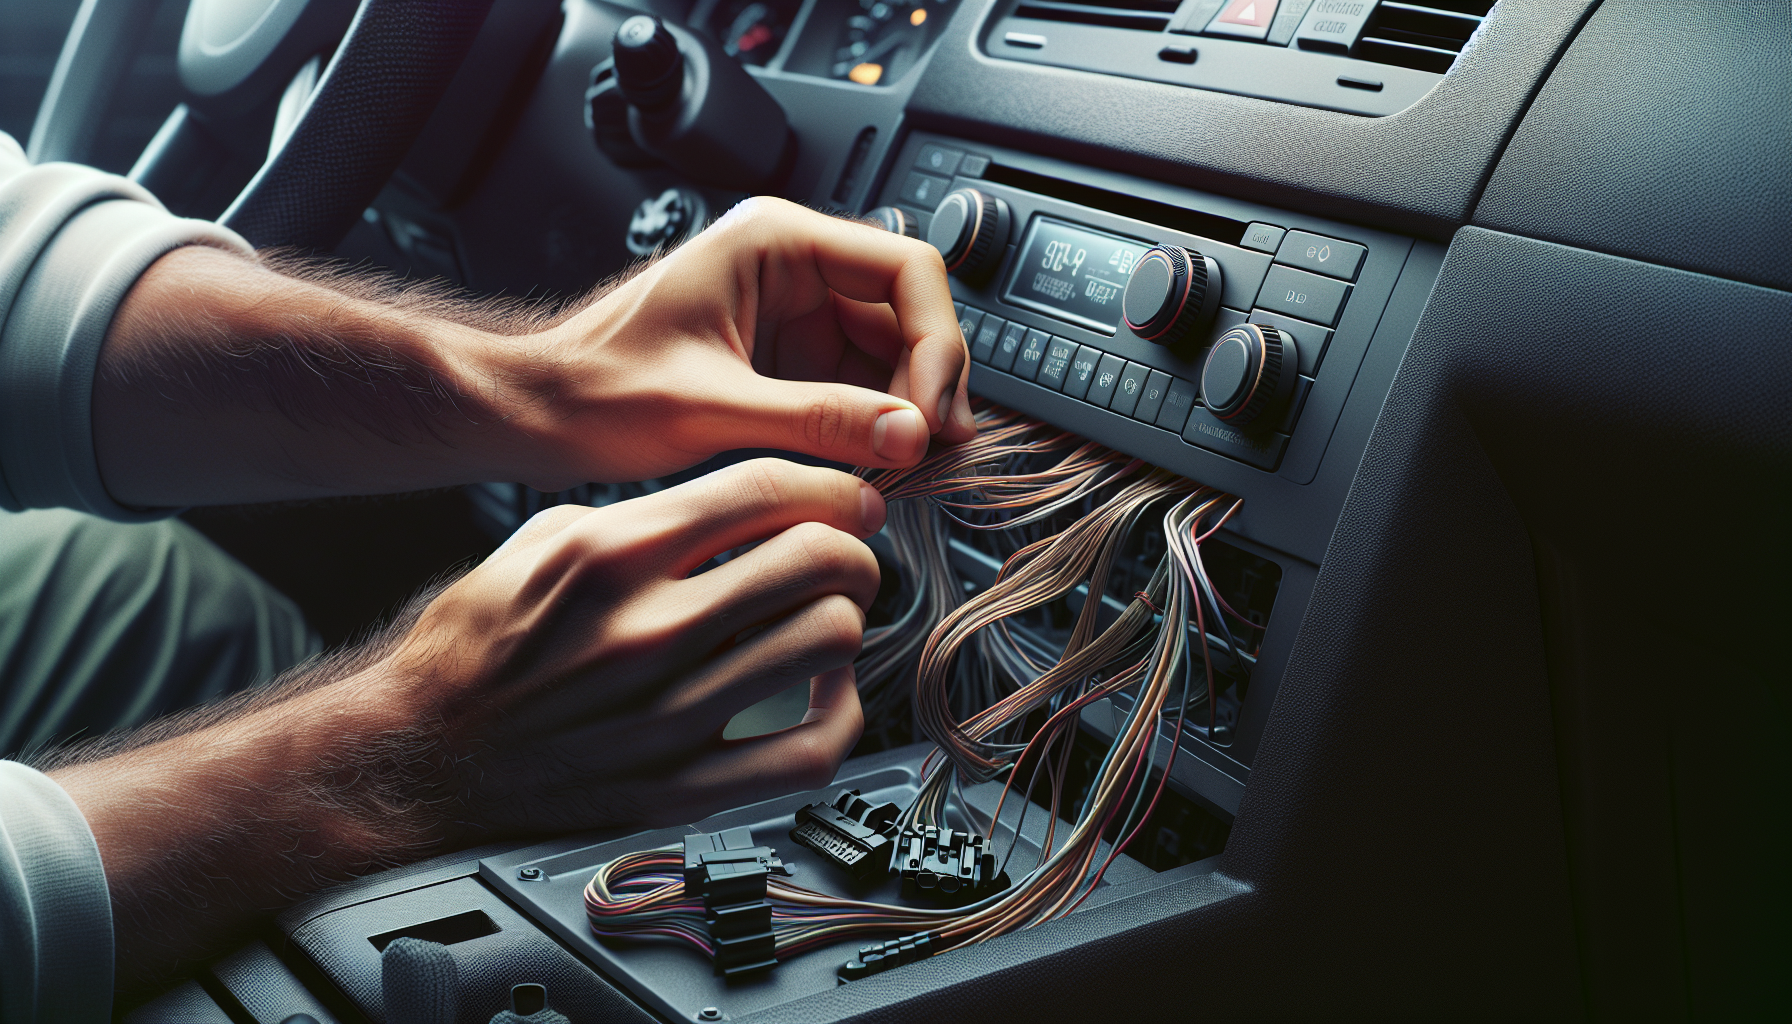
While detailed removal steps for the factory unit are not provided, it is essential to carefully detach any trim pieces surrounding the stock head unit to access it.
Installation Steps
1. Mount the New Unit
Align the new head unit with the mounting frame of the dashboard.
2. Secure the Unit
Ensure all mounting points are properly secured to avoid vibration or movement.
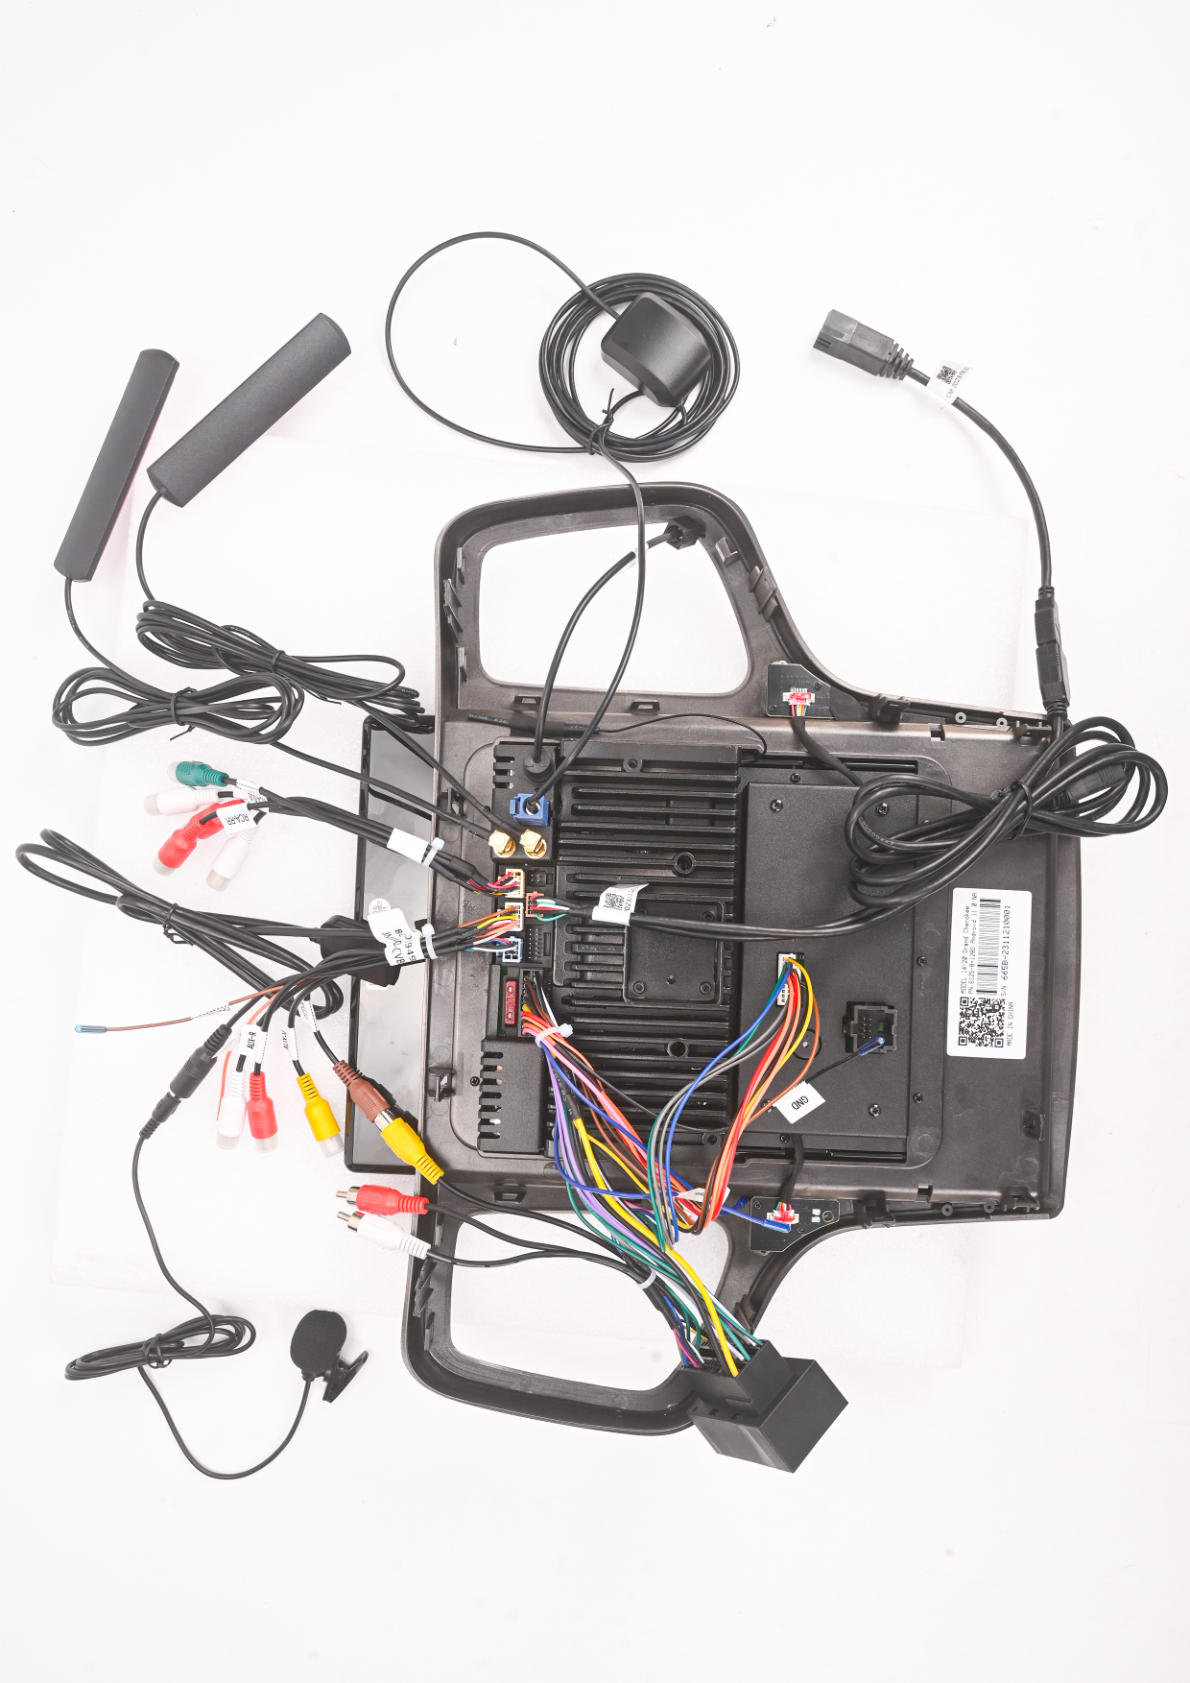
3. Wiring Connections
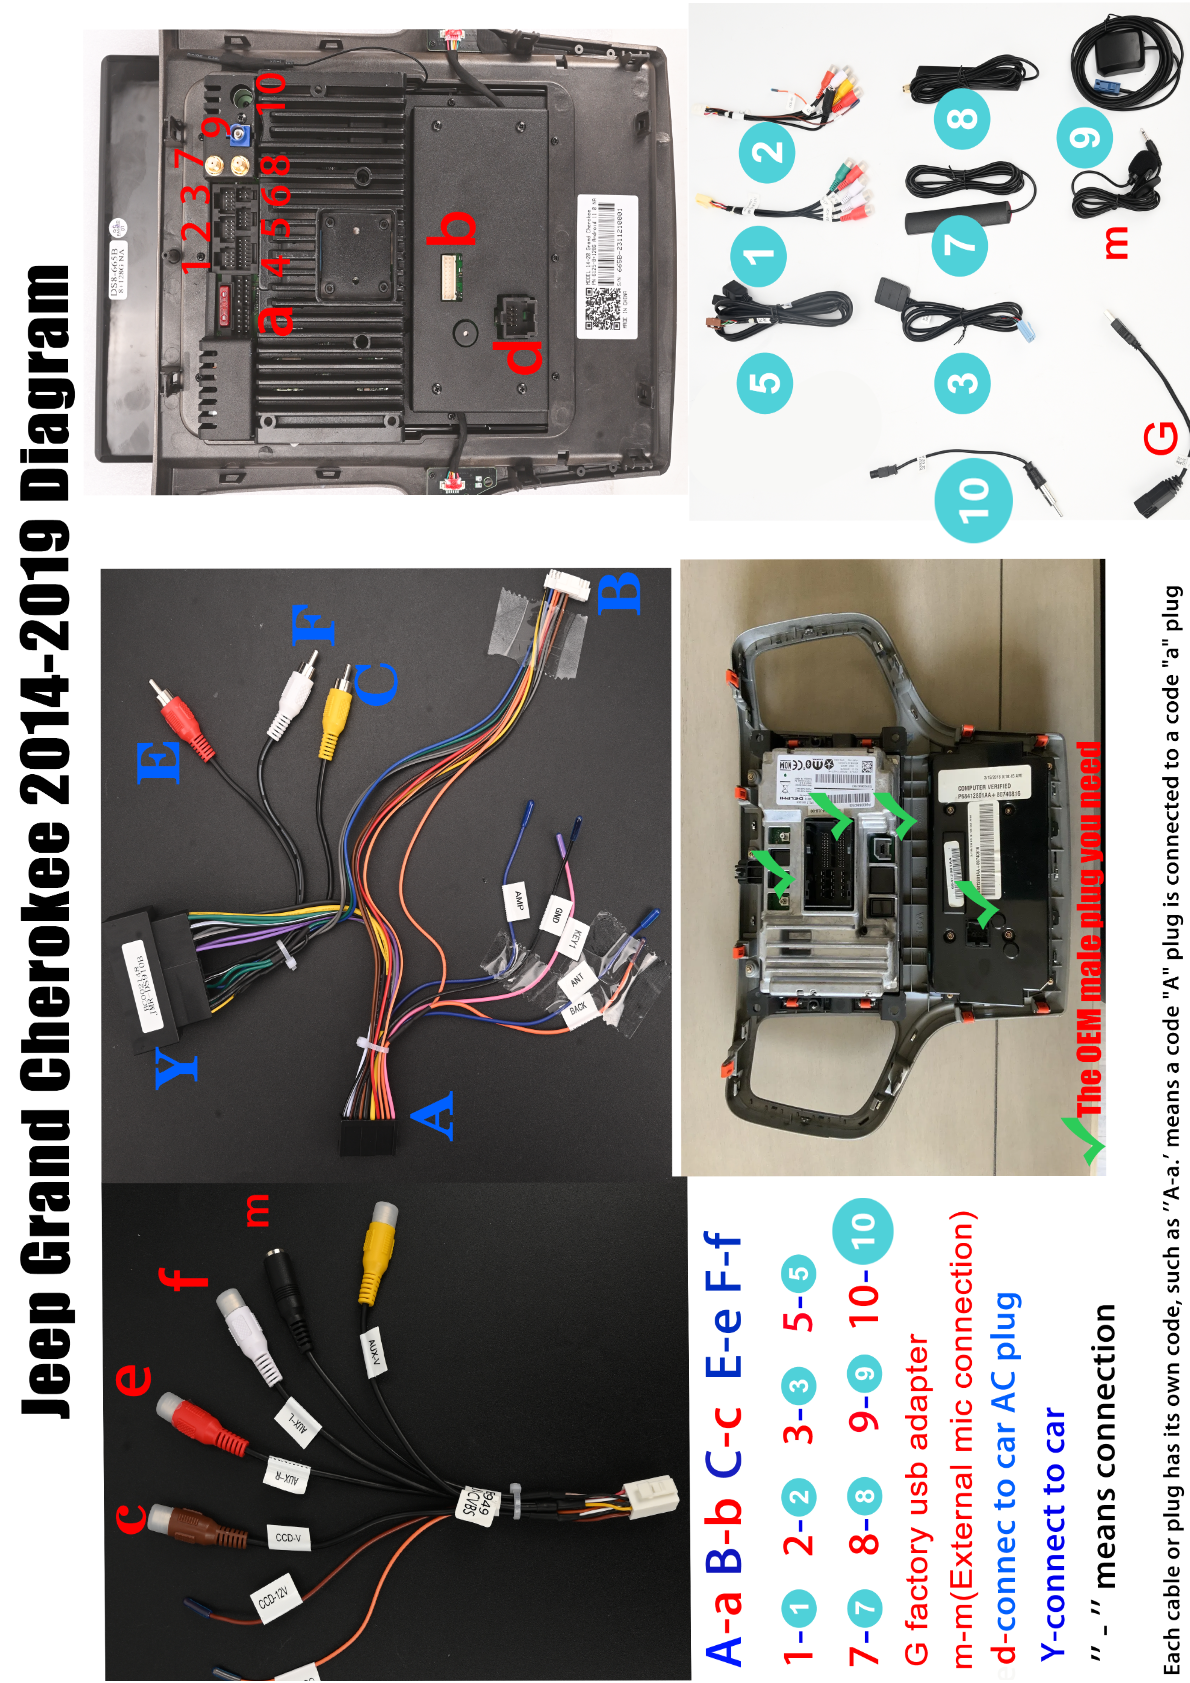
Follow these wiring connections:
- Connect wiring harness Code 'A' to the corresponding plug 'a'.
- Connect wiring harness Code 'B' to the corresponding plug 'b'.
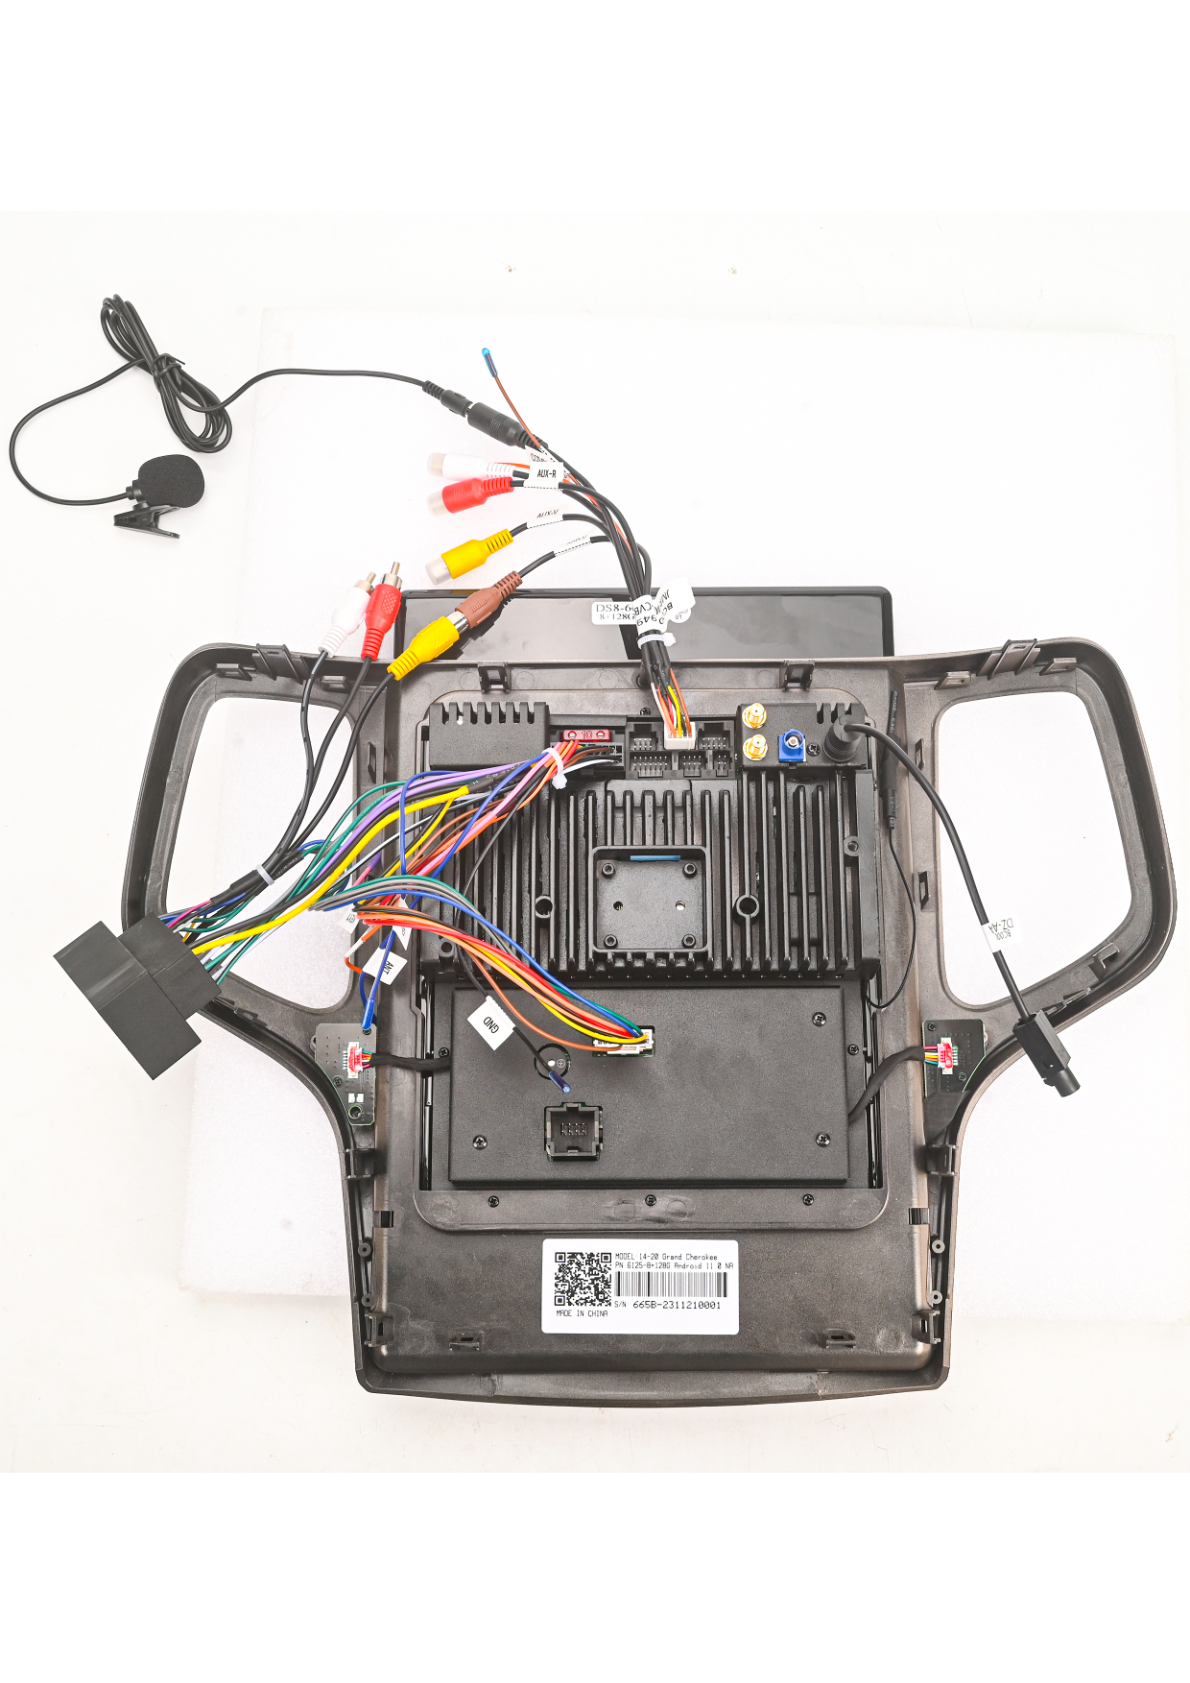
- For camera and video inputs, connect AV cables (C, E, F) by matching colors: red for audio, white for audio, and yellow for video.
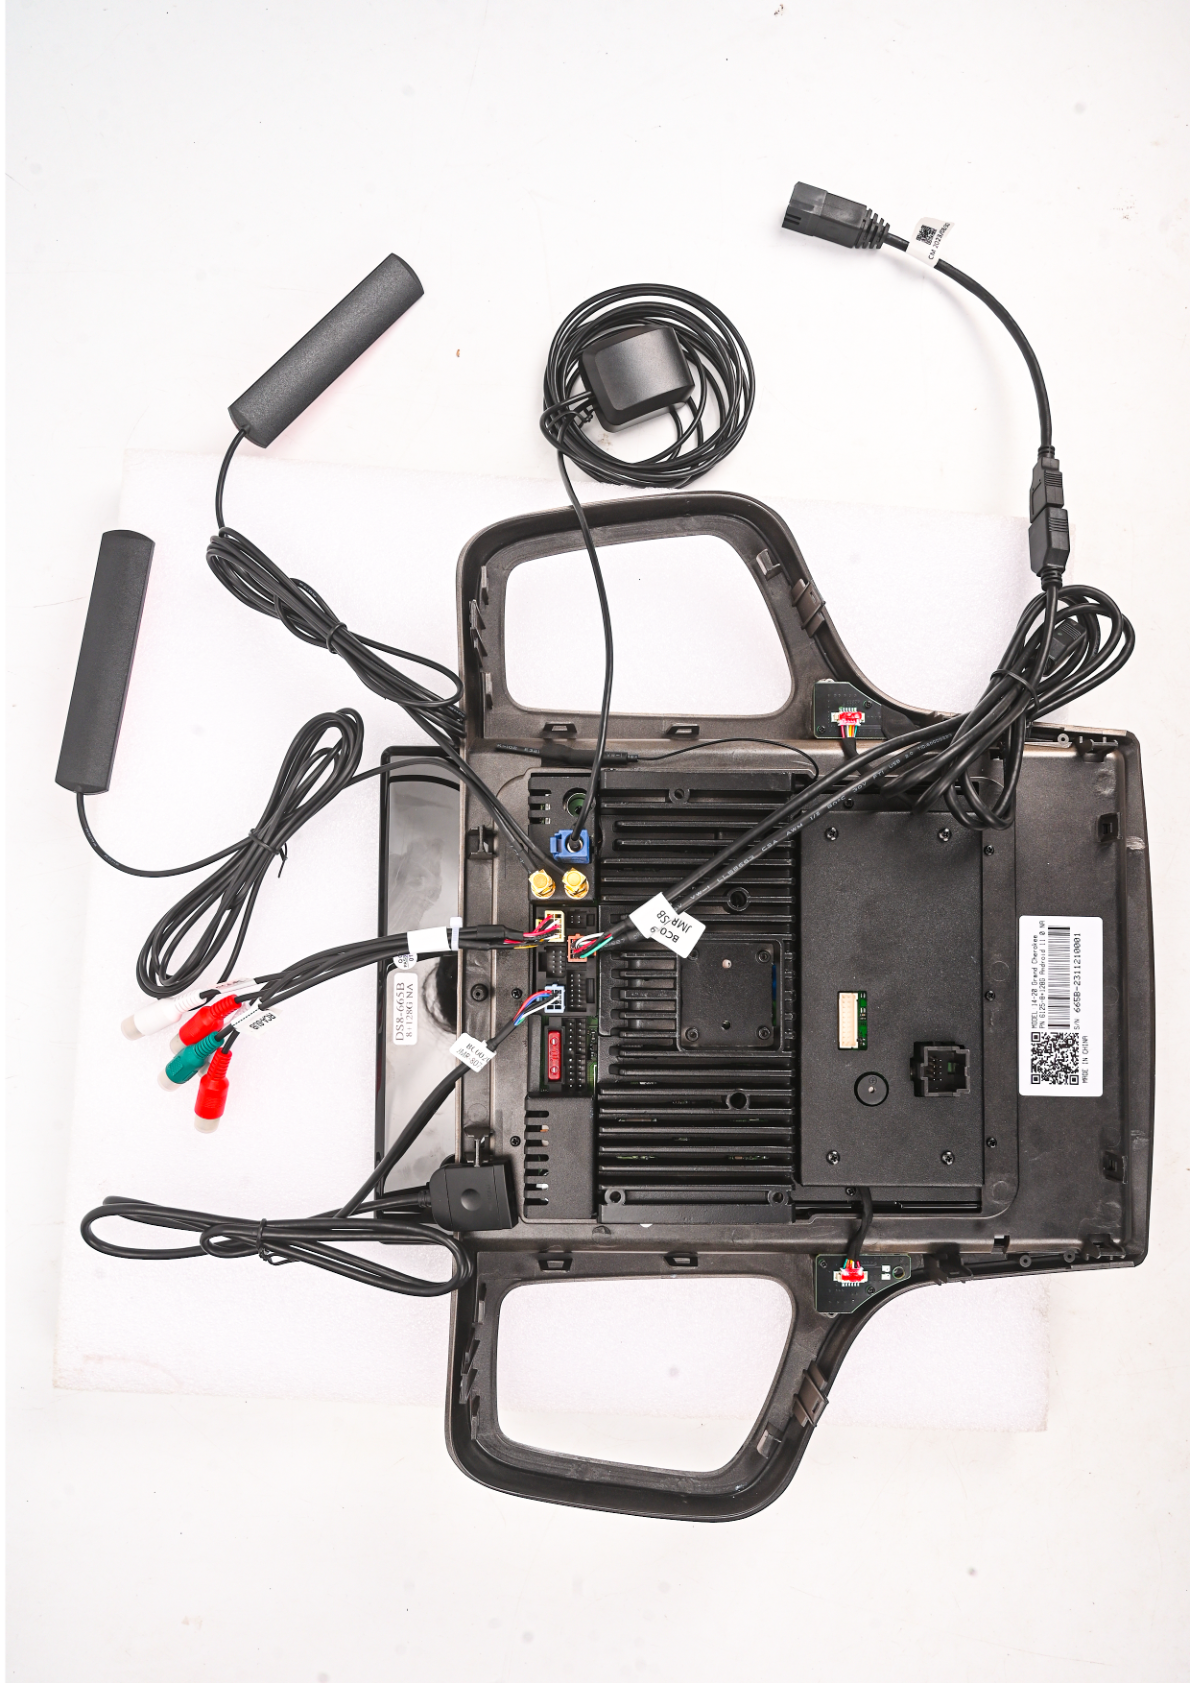
- Attach the factory USB adapter (G) and external mic connection (M).
- Connect the power cables to the car's AC plug (d).
4. Post-Installation Testing
Reconnect the battery and turn on the vehicle. Test all functions such as audio, video, and touchscreen to ensure everything is working as expected.
5. Reassemble the Dashboard
If necessary, reattach any dashboard panels or trim.
Tips & Warnings
- Ensure all wires are neatly tucked away and secured to prevent pinching or damage.
- Double-check connections if any components do not power on as expected.
- Verify all connections before reconnecting the vehicle battery.
Wiring Diagrams
Refer to the following wiring diagrams for detailed connection information:
Conclusion
Installing a G-Series head unit in your Jeep Grand Cherokee (2010-2013) is a straightforward process that can greatly enhance your vehicle's infotainment system. With this guide, you should be well-equipped to tackle the installation confidently.
Explore More
For more information on our head units, check out our G-Series Head Unit page.

Share:
How to Install a Head Unit in Your Jeep Cherokee (2014-2020): Complete Guide with Wiring Diagrams
How to Install a Head Unit in Your Jeep Wrangler Gladiator (2018-2021): Complete Guide with Wiring Diagrams