
Introduction
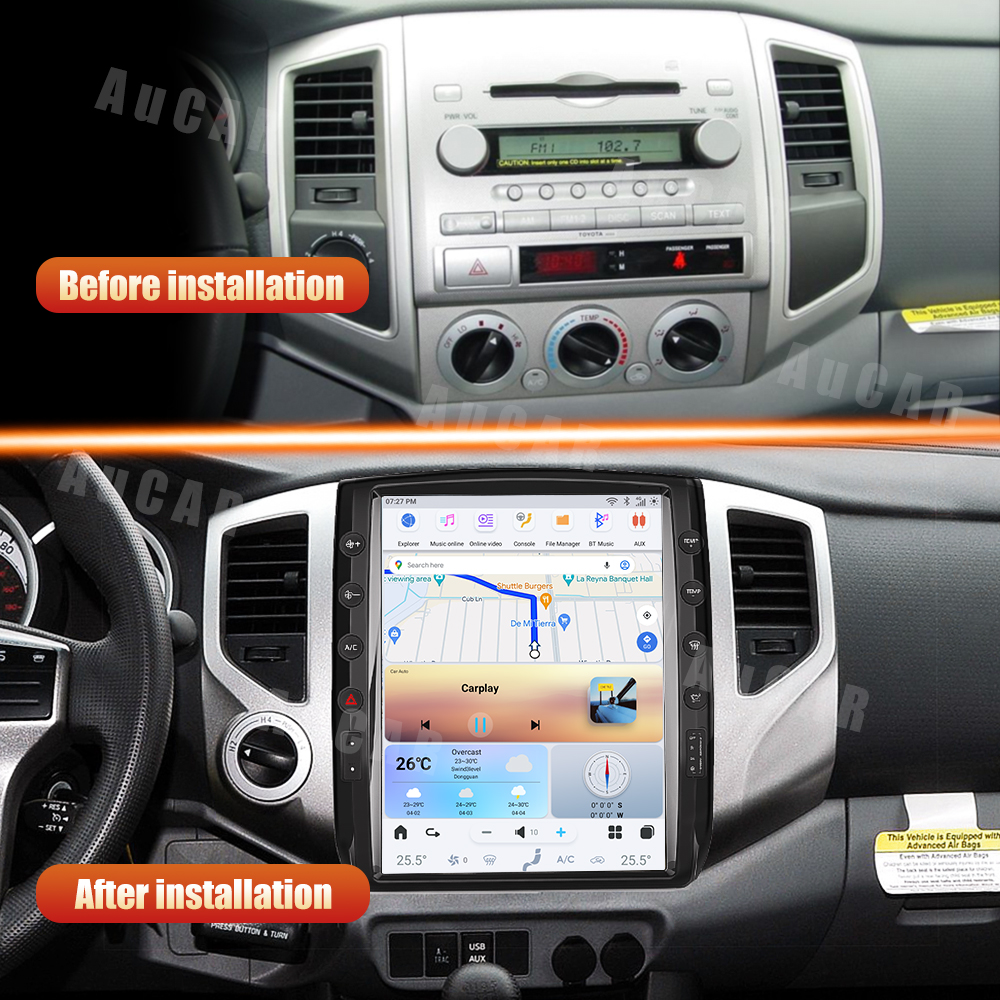
Upgrading the head unit in your Toyota Tacoma (2005-2015) can enhance your driving experience with modern features like wireless Apple CarPlay and Android Auto. In this guide, we'll walk you through the installation process of the SquareWheels G-Series Head Unit, ensuring you have all the necessary steps and wiring diagrams for a successful installation.

Tools Required
While specific tools are not mentioned in the installation guide, you will typically need:
- Trim removal tools
- Screwdrivers
- Wire strippers (if necessary)
Pre-Installation Notes
Before starting the installation, keep these points in mind:
- Ensure compatibility with your specific Tacoma model year (2005-2015).
- Disconnect the battery to avoid electrical short circuits.
- Prepare all parts and cables provided in the kit.
Removal Steps
The removal of the factory unit and trim pieces is not detailed in the images. It typically involves using trim removal tools to carefully detach the existing components.
Installation Steps
Follow these steps to install your new head unit:
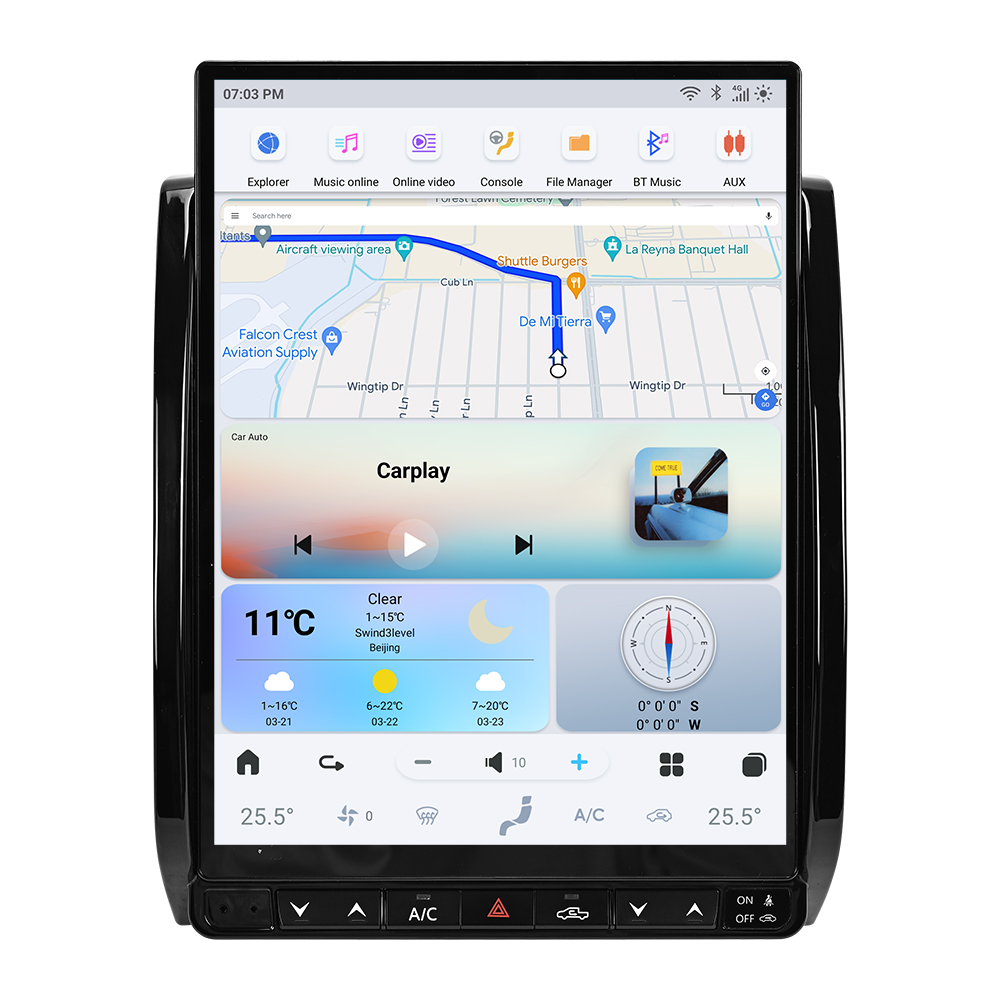
- Fit the new unit into the dashboard in place of the factory unit.
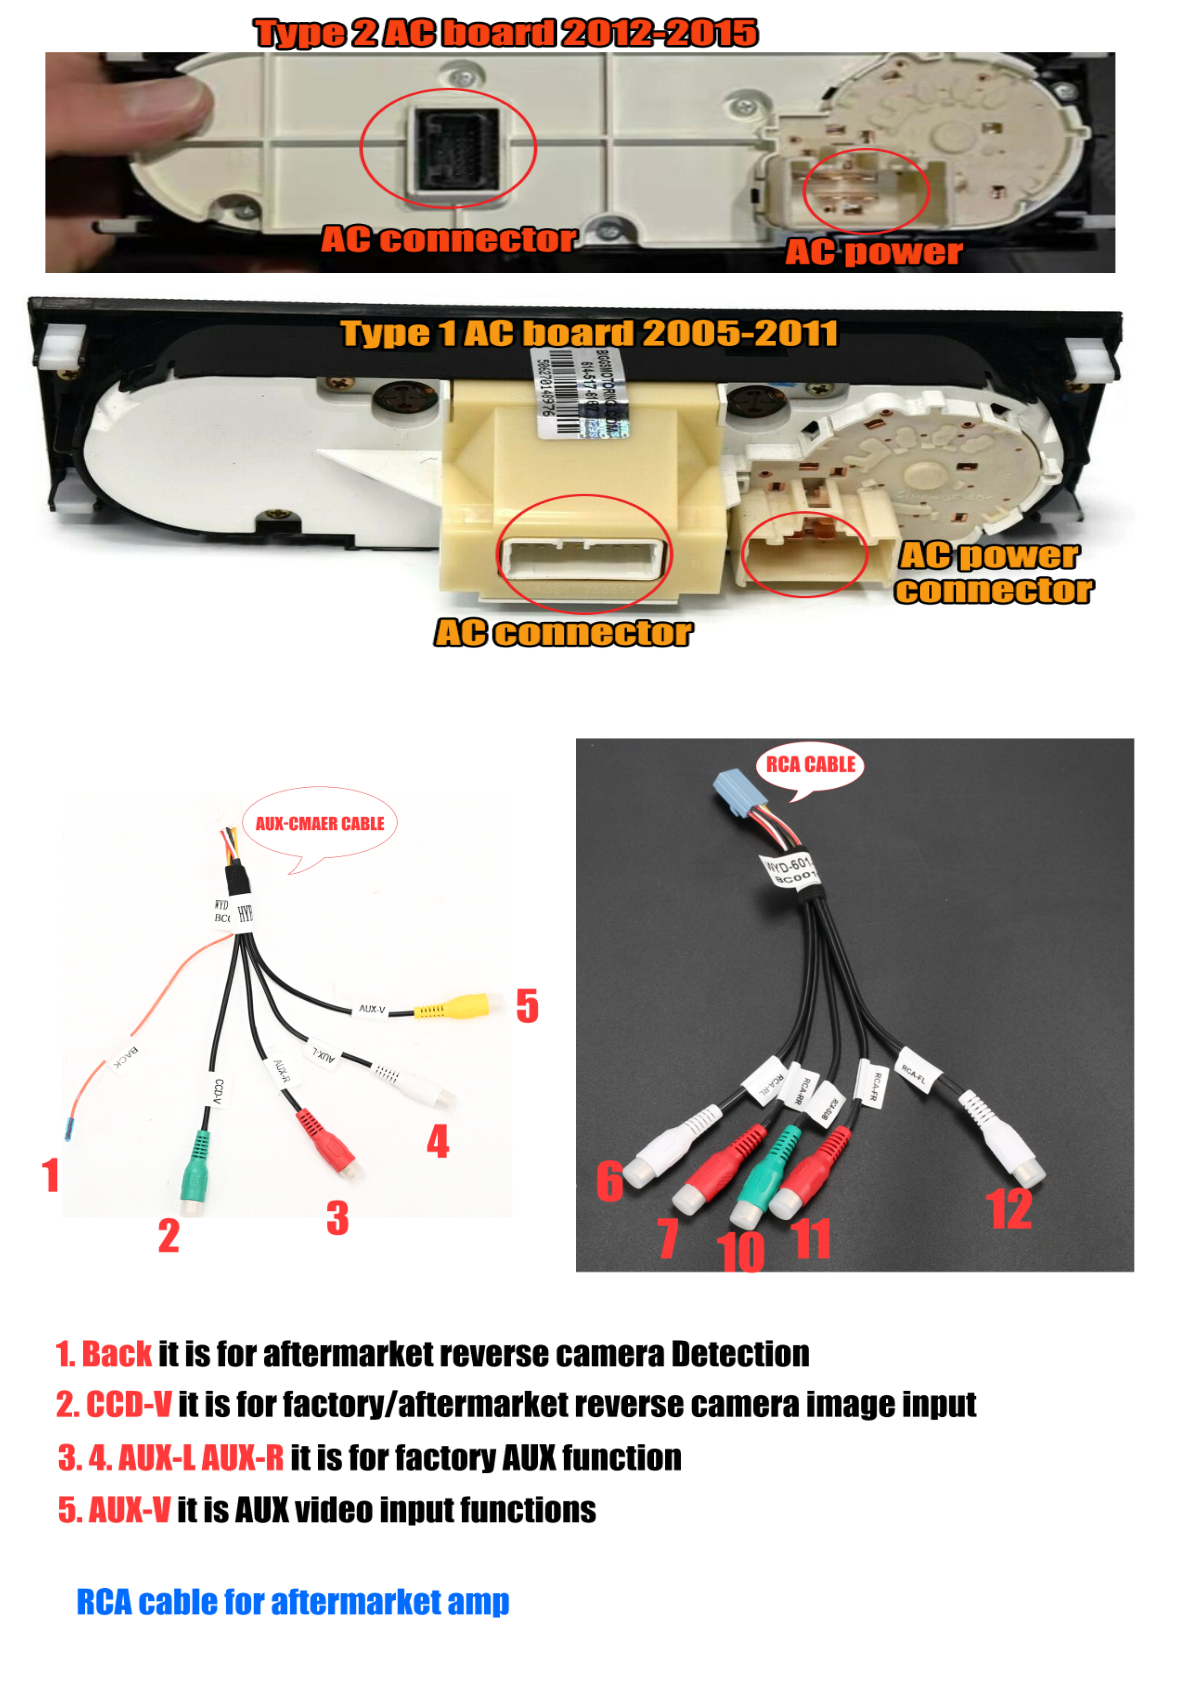
- Ensure the AC board is appropriate for your model year:
- Type 1: 2005-2011
- Type 2: 2012–2015
Wiring/Connections
Proper wiring is crucial for functionality. Here are the connections you need to make:
Main Harness for Non-Amplifier Models:
- Connect the 24-pin and 28-pin AUX plugs.
- AUX-R and AUX-L connections.
- Power and CAN plug connections to the head unit and car.
Main Harness for Amplifier Models:
- Includes similar connections with an additional power and amplifier plug.
Additional Connectors:
- Connect the 4G antenna, GPS antenna, and any optional accessories like a microphone.
AC Connection Diagrams:
Make sure to connect to the appropriate male and female plugs from AuCar and your vehicle. Refer to the wiring diagram below for guidance:

Post-Installation
Once everything is connected:
- Reconnect the battery and test the unit's functionality (audio, video, and controls).
- Carefully reassemble any removed trim pieces.
Tips & Warnings
- Ensure all connectors are securely attached to avoid loose connections.
- Be mindful of the AC board type (Type 1 or Type 2) to avoid compatibility issues.
- Refer to the RCA and AUX cable connections for aftermarket accessories.
Conclusion
Following this guide will help you successfully install the G-Series head unit in your Toyota Tacoma. Enjoy your upgraded infotainment experience!
For more information on the G-Series head unit, check out the product page here. If you have any questions or need assistance, feel free to contact us.
Share:
How to Install a Subwoofer on an Infiniti Q50 (Complete Guide)
How to Install a Head Unit in Your Toyota Tundra (2007-2013): Complete Guide with Wiring Diagrams