
Introduction
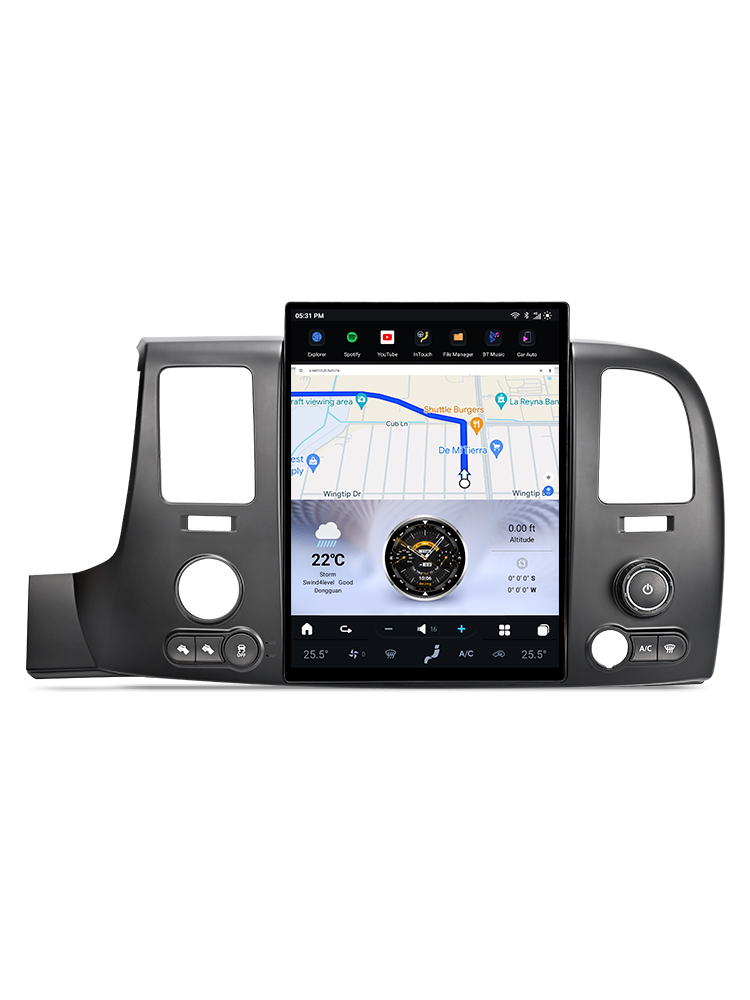
If you're looking to upgrade your Chevrolet Silverado's audio experience, installing a new head unit can make a significant difference. This guide will walk you through the process of installing a G-Series head unit in your Chevrolet Silverado (2015-2019), complete with wiring diagrams and essential tips.
Tools Required
While specific tools are not listed, you will need standard automotive trim and panel removal tools to facilitate the installation process.

Pre-Installation Notes
Before you begin, verify your vehicle model and existing screen size (4-inch, 7-inch, or 8-inch). It’s crucial to ensure compatibility, as units of different sizes are not interchangeable.
Removal Steps
To remove the factory unit, use trim removal tools to gently detach the panels and access the screws securing the existing head unit. This step is essential for accessing the wiring behind the dashboard.
Installation Steps
Follow these steps to install your new G-Series head unit:
- Built-in Microphone & RST Button: Familiarize yourself with the location of the microphone and reset button.
- Retain the Silver Box ASM Receiver: Ensure to keep the factory silver box radio ASM receiver during the installation.
Wiring/Connections
Proper wiring is crucial for the functionality of your new head unit. Below are the connections you need to make:
- Main Harness: Connect to the back of OEM components.
- SWC Adapter: Ensure steering wheel control connections are made.
- Factory Camera Adapter
- Speaker Adapter
- AUX-Camera-MIC Harness
- SIM Card Cable
- USB Cable
- Speaker
- GPS Antenna
- External Microphone
- AUX Plug
- 4G Antenna
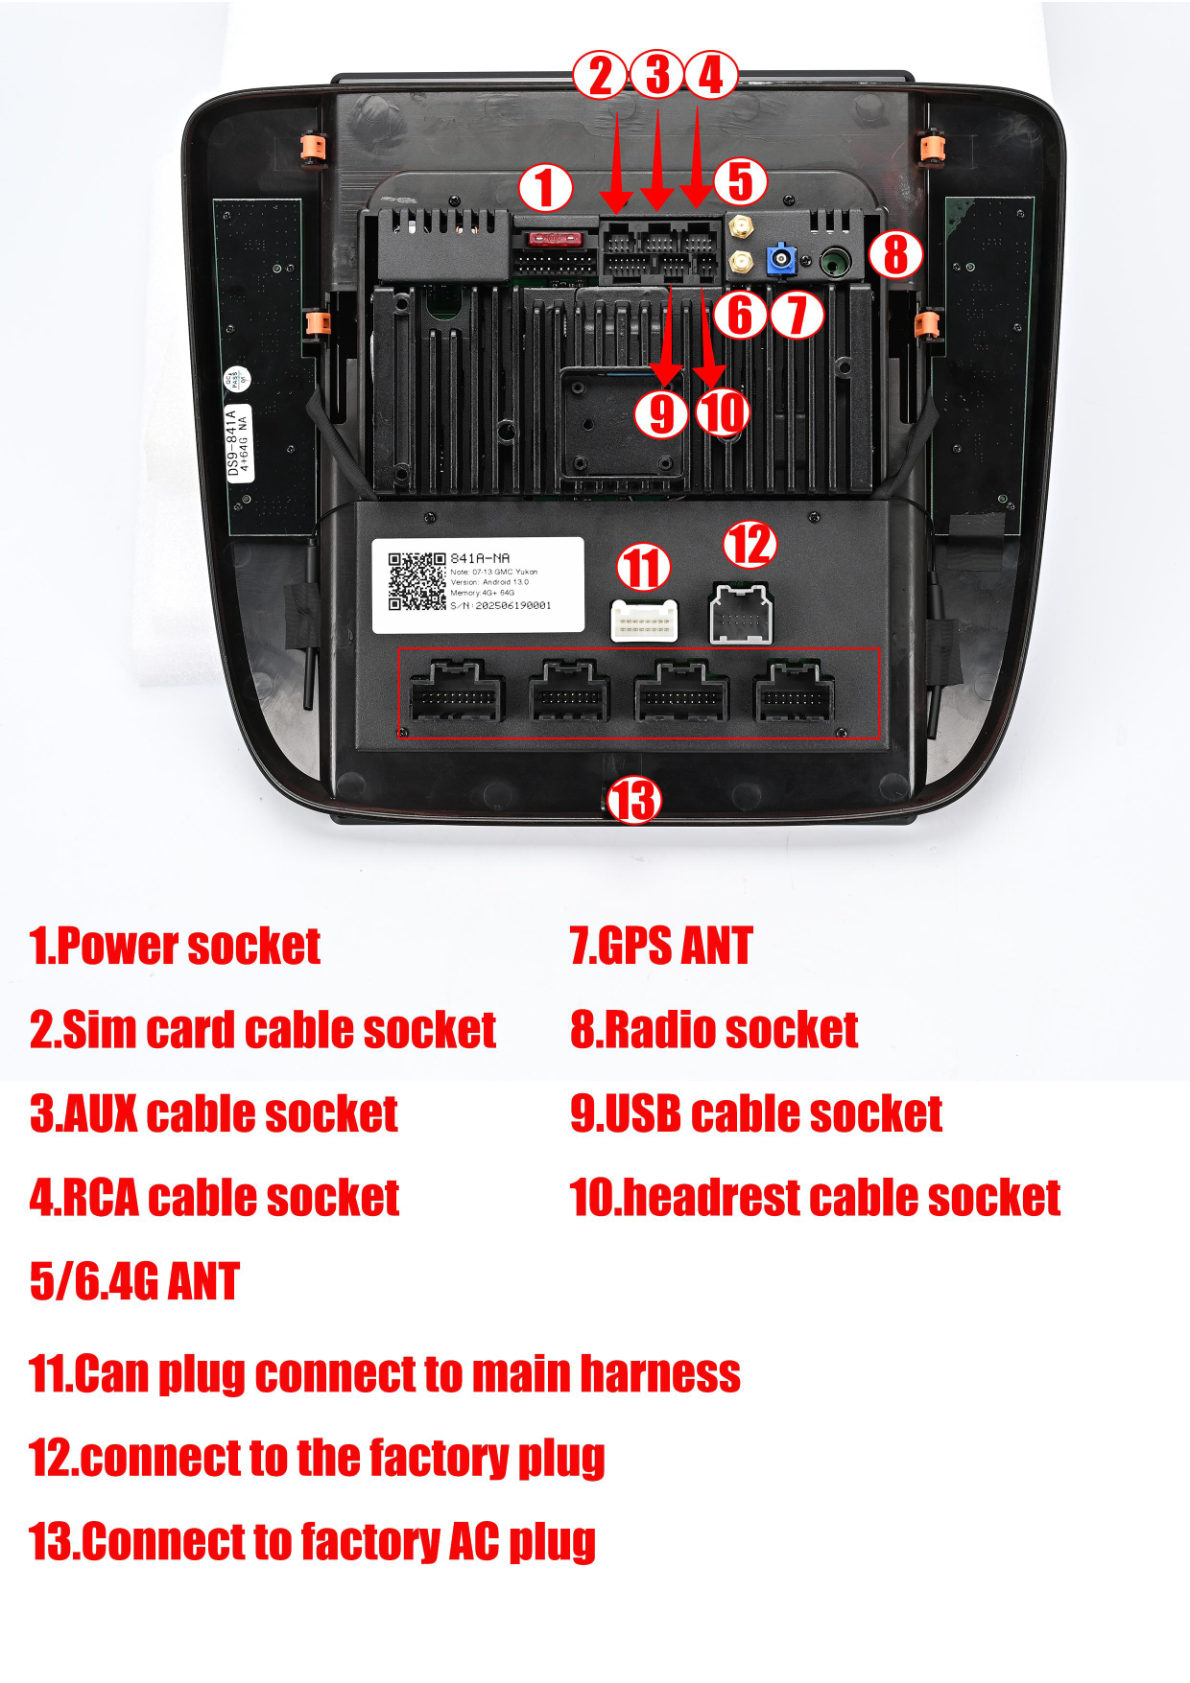
Head Unit Rear Socket Connections
Connect the following to the rear socket of the head unit:
- 4G Antenna Socket
- 4G SIM Card Cable Socket
- AUX-Camera-MIC Harness Socket
- Aftermarket Reverse Camera Signal Detection Socket
- Power and AC Cable Socket
- USB Cable Socket
- Speaker Adapter Cable Socket
- LVDS Socket
- GPS Antenna Socket
Post-Installation
Once all connections are made, reassemble any trim pieces or panels that were removed. It's important to conduct a thorough test of all functionalities, including screen, audio, Bluetooth, navigation, and any additional features you may have installed.
Tips & Warnings
- If you encounter any issues, have your order number, dashboard picture, and wiring photos ready when contacting support.
- For Bluetooth connection assistance, refer to the provided tutorial.
- For software-related issues, navigate to settings-about system and take a screenshot for support.
Conclusion
Installing a new head unit in your Chevrolet Silverado can greatly enhance your driving experience. By following this guide, you can ensure a smooth installation process. For more information and to explore our G-Series head units, visit our product page.
Videos for Assistance
For any further questions or technical support, feel free to contact us via email at support@aucarauto.com or reach out through WhatsApp/Phone at +86 158 1187 6790 / +86 199 2547 6796.
Share:
How to Install a Head Unit in Your Chevrolet Colorado (2014-2018): Complete Guide with Wiring Diagrams
How to Install a Head Unit in Your Chevrolet Tahoe, Silverado, or GMC Yukon (2007-2012): Complete Guide with Wiring Diagrams